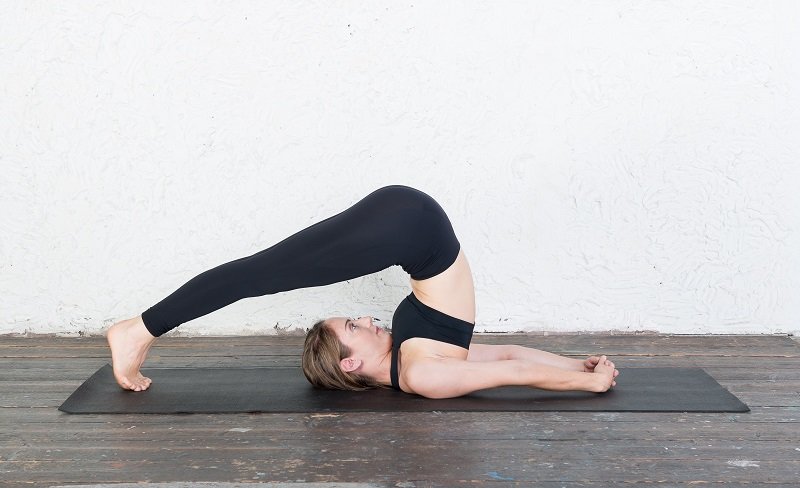
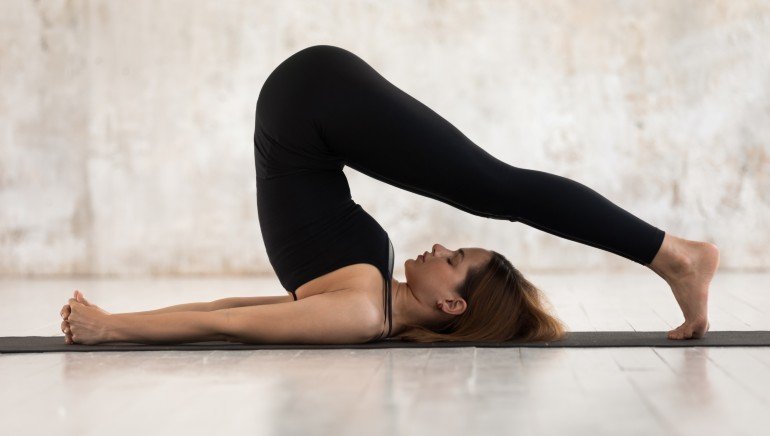
Plow Pose is the topic of class today. Plow Pose [ Halasana ] is one of the most important classes of this series. Hellooooooo our dear Yogis, welcome to our new episode of Yoga with Eeman. In this episode, Eeman will show you the process of Ploug And Shoulder Stand (Halasana). To prop or not to prop? That is the question in Ploug Pose (Halasana) just as it is in Shoulderstand.
Each teacher may have their own opinion about whether you should use a folded blanket under your shoulders in this pose. Those trained in Iyengar yoga are strong advocates for the prop. The idea is that using the blanket makes more room for the neck so it doesn’t get compressed and allows for a straighter spine.
Plow Pose
This pose can create a relaxed and focused energy. Additionally, it stretches the entire back of your body, including the back of the thighs (hamstrings), buttocks (glutes), shoulders, and neck.
Additional Plow Pose perks:
- Strengthens your diaphragm
- Relieves backache

How to
- Stack three blankets so that their edges line up. Place the stack near the front of your mat so that their edges line up near the middle of the mat.
- Sit at the front end of your mat and lie back over the blankets so they support your torso. Adjust your position so that the tops of your shoulders are about an inch over the edge and the back your head rests on the floor. Lie face up so that the front of your neck is long and there’s space between the back of your neck and the floor.
- Bring your knees toward your chest, then straighten your legs toward the ceiling.
- Using the strength of your abs—and supporting yourself with both hands at your low or mid back—lift your hips off the floor and roll up until you are supported by your shoulders. Stack your hips above your shoulders.
- Slowly lower your legs backward over your head until your toes reach the ground behind you. Rest your toes on the ground, feet flexed.
- Release your hands and place your arms no the floor, palms down or with hands clasped. Press down with your outer upper arms and shoulders to create more lift along the spine.
- Hold for 5 breaths or more.
- To exit, unclasp your hands, press your arms and hands into the mat, and slowly roll down one vertebrae at a time.
- Take a few moments to allow the back to settle back into its normal curves.
Explore the pose
Keep your gaze steady, with your face lifted to the ceiling. Though it can be tempting to look around, do not turn your head or attempt to move your neck while in Plow Pose or any inversion to keep your cervical vertebrae safe. Instead, practice your drishti. Breathe. When the chest becomes compressed, the tendency is to hold your breath. Keep your breath as steady and slow as if you were seated at the beginning or end of class.
If you attempt the “flat” version of the pose without the blankets, take care not to overwork and possibly injure the vulnerable cervical vertebrae.
Avoid this pose if you have back or neck pain or injuries, including bulging or herniated discs. If you have glaucoma, detached retina, diabetic retinopathy, or other eye conditions, ask your ophthalmologist if this inversion is safe to do.

Teacher tips
These cues will help protect your students from injury and help them have the best experience of the pose:
- Always keep space between the back of the neck and the floor, to protect the cervical spine from injury.
- When coming into this pose, squeeze your shoulder blades together to help yourself lift up onto the tops of your shoulders. But once you are in the pose, broaden your shoulder blades across the back to open the sternum.
- You can overstretch your neck if you pull your shoulders too far away from your ears. While the tops of your shoulders should push down into the blankets, they should be lifted slightly toward your ears to keep the back of your neck and throat soft.

